Chapter 3 – Assembly and Mold-Making Begin
In mid-September, I began the process of putting the cake together, essentially working my way from the bottom up. The cake would comprise seven layers covered by fondant, gumpaste and buttercream: The “cake board” base layer, which was particleboard, and then the main “cake” (effectively a double sheet cake), a smaller “cake” (effectively a single sheet cake), the building base, the building body, the roof base, and the roof, which were all styrofoam.
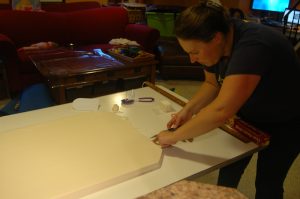
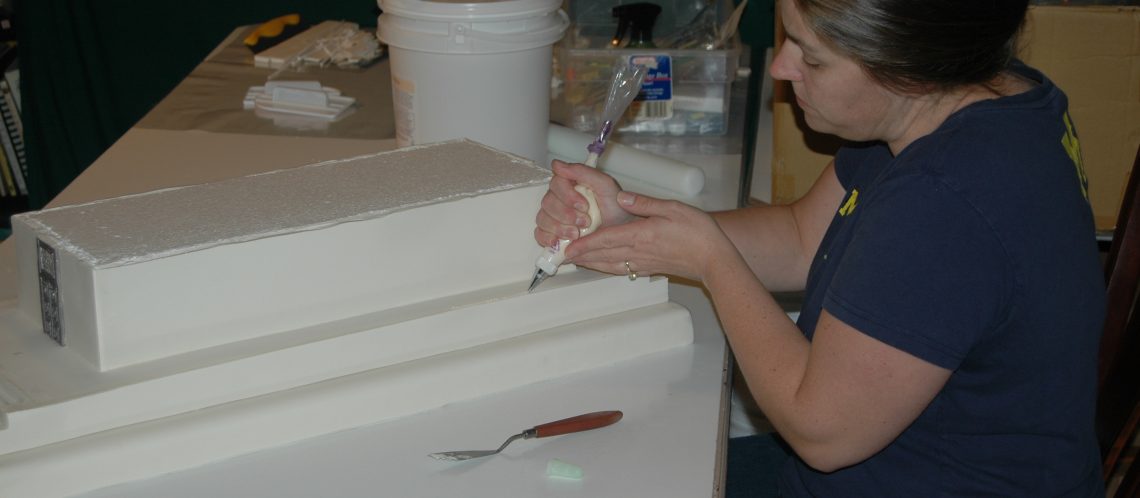
The first steps were the simplest, but that’s not to say they were easy. The “cake board” base layer, seen in the first picture, was fondant-covered, and would be seen in the final picture, so it had to be perfect. It’s no small feat to roll out a sheet of fondant four feet long by 30 inches wide and get it onto the board without tearing. I then started working my way upwards. The next layer, the cake layer, would eventually be covered with buttercream, so it was less important to have perfect seams, and the same was true for the layer immediately under the building.
Once I had the main cake layer attached to the cake board, I began mixing and rolling out gumpaste, which is fondant with the addition of tylose powder, to enable it to harden more quickly and completely. Each individual piece of gumpaste – each step on the ends of the building, the side panels for the building base and the building body, etc., had to be rolled out to a precise thickness and then cut and trimmed to ensure perfectly crisp corners. A great deal of the work was done using a yard stick as a straight edge and a mitering square to ensure perfectly square corners. From there, it was generally two days to allow the pieces to dry enough to be able to apply them to the styrofoam, and then using royal icing to fill any small gaps between the gumpaste panels.
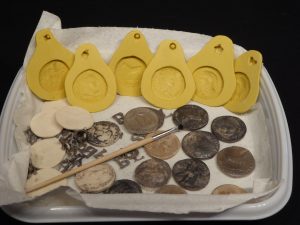
At this time, I started working on the first of the eleven molds I would eventually make, for the coins that would be applied to the sides and corners of the cake. The movie’s props department provided me with originals that they had found, from which I created molds and began color testing on. It was a lot of fun to mix various powder colors and see what the results would be, and the colors changed dramatically depending on whether I steam-set the color or not. I had a followup on-site meeting with the props team, where they approved the final color blend that would be used for the coins, the doors, and the lettering.
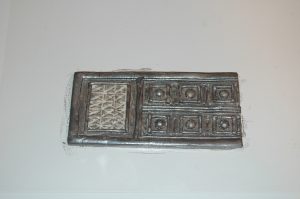
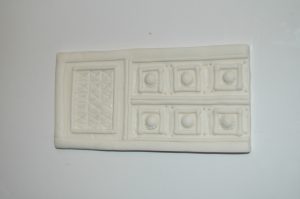
The first detailed design pieces applied were the doors that went on either end of the building, as they needed to be set before the columns went on. This is an example of a level of detail which would never be seen on-screen, but contributed to the overall accuracy of the final piece. I first found a mold that fit both the size and the general design aesthetic that I had found doing research on the building, and made a dozen gumpaste copies of it. The remainder of the door design was done by hand, while trying to maintain as much consistency as possible. I dry-brushed and then steamed the doors to set the color, and adhered them to the building body. I was then ready to start creating and installing the columns.
Next: Columns and gryphons and pediments, oh my!